반응형
✔️ 필요성
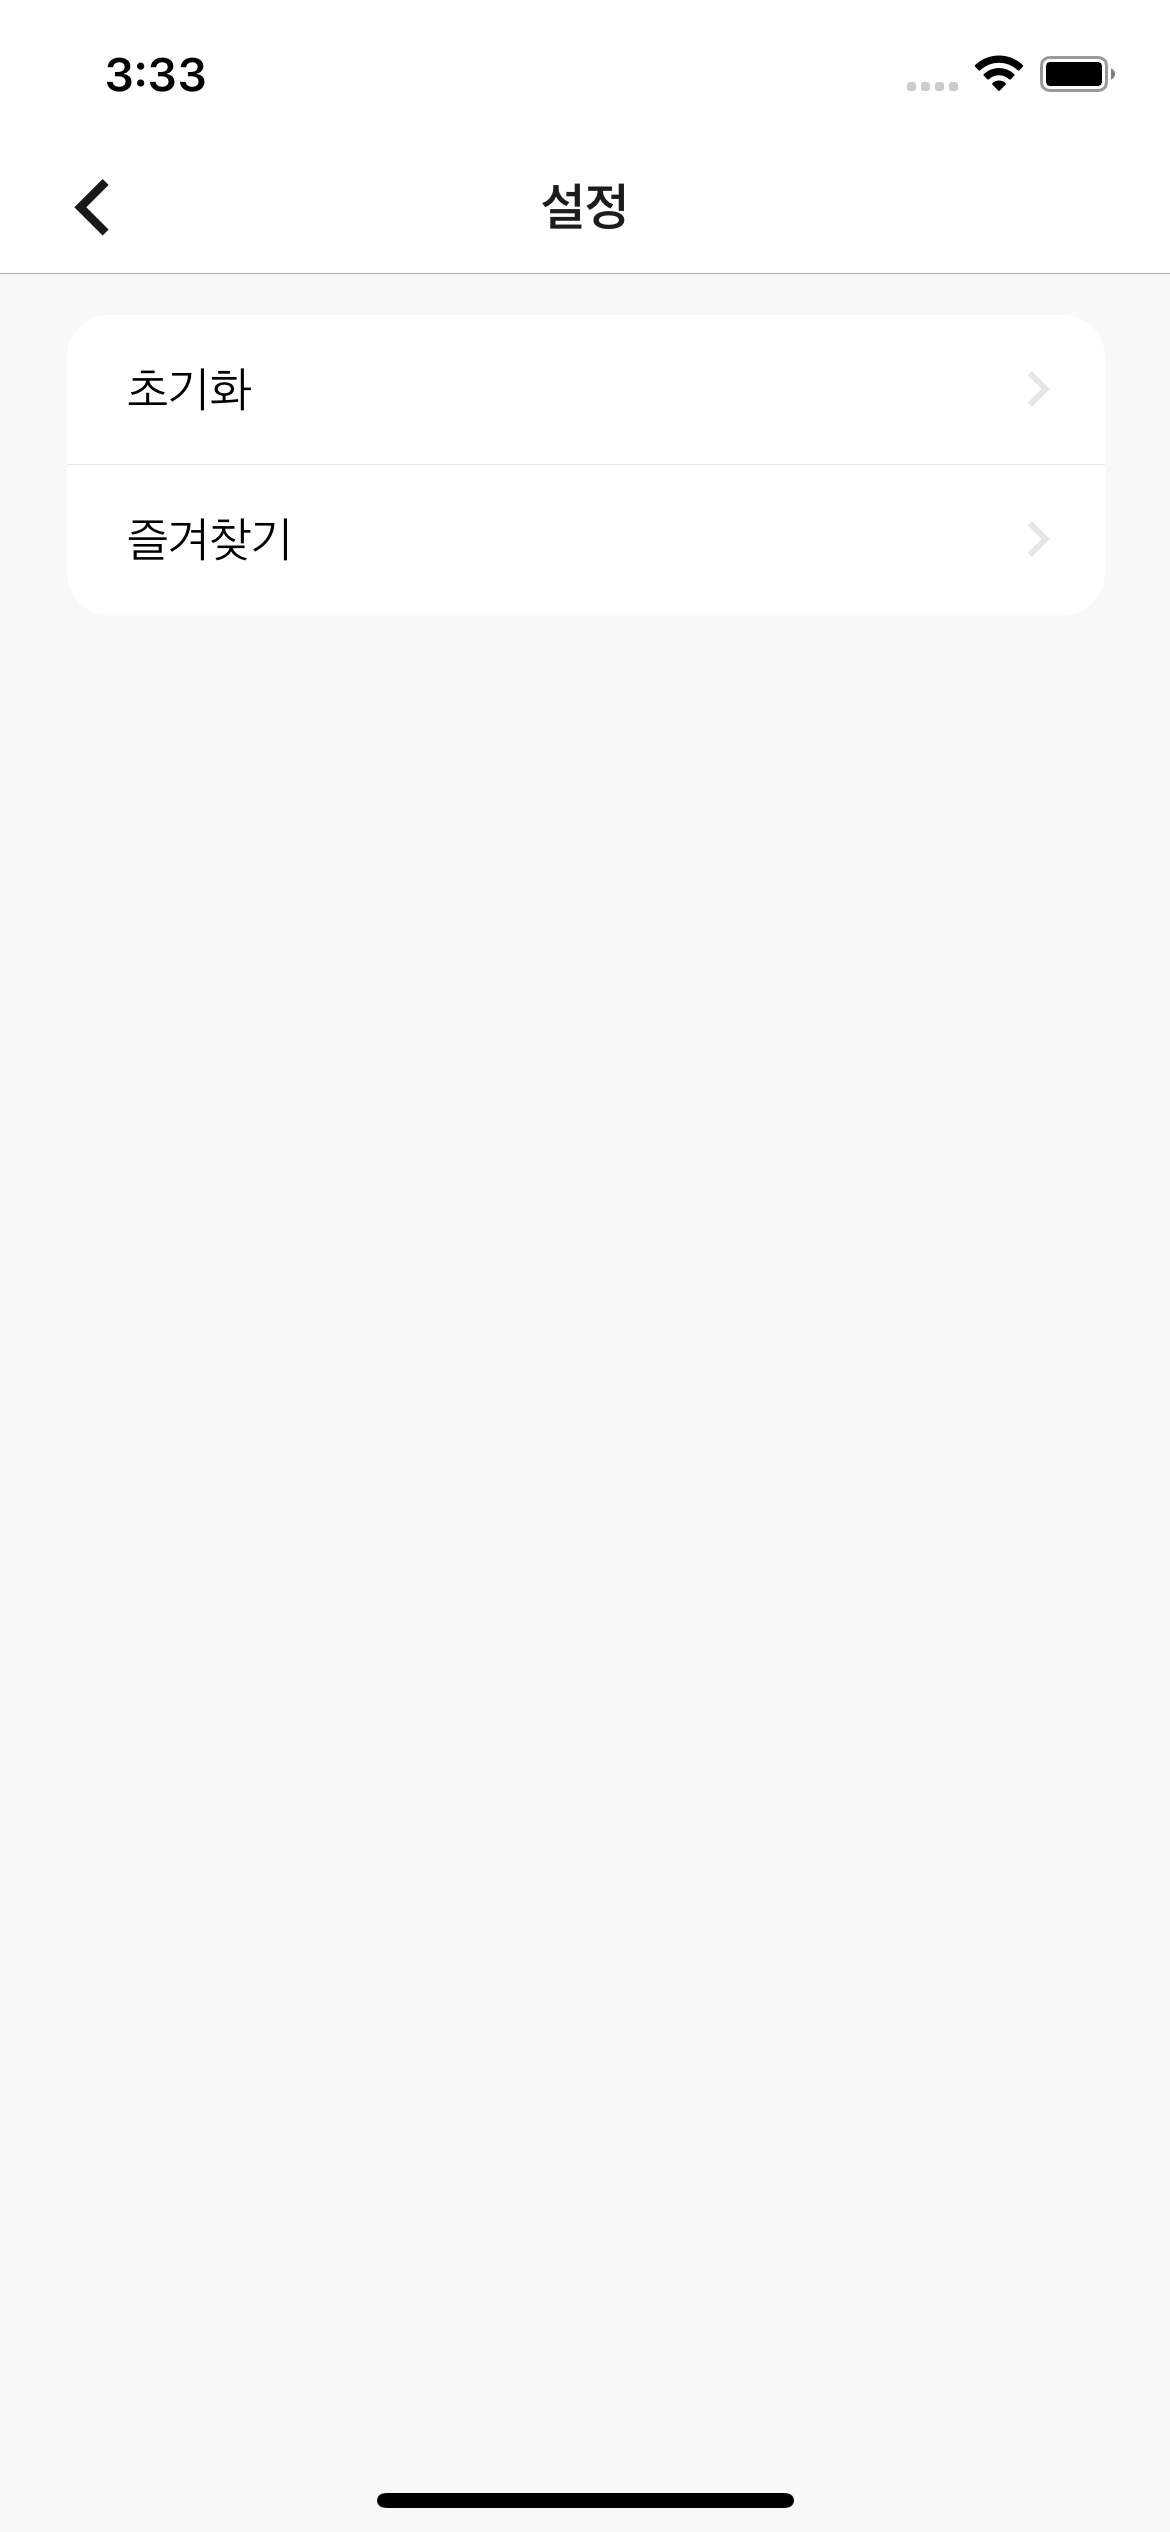
react-native 의 상단에서 뒤로가기 버튼을 깔끔하게 만들고 싶다면 어떻게 할 수 있을까? 필자는 styled-components를 활용하여 개발하였다

✔️ 문제 해결
HeaderLeftGoBack이라는 컴포넌트를 만들어둔 다음에 Screen에서 쓰이는 곳마다 공통적으로 사용하자. 뒤로가기 꺽쇄 모양은 원하는 아이콘으로 얼마든지 활용가능하다.
hitSlop값을 적당히 줘서 사용자가 적당히 아이콘 근처를 눌러도 뒤로가기를 클릭할 수 있도록 설정해주었다.
import React from 'react';
import styled from 'styled-components/native';
import Icon from 'react-native-vector-icons/Ionicons';

const Pressable = styled.Pressable`
`;
const IconContainer = styled.View<{pressed: boolean}>`
  opacity: ${({pressed}) => (pressed ? 0.55 : 1)};
`;

const HeaderLeftGoBack = (navigation: any) => {
  return (
    <Pressable onPress={() => navigation.goBack()} hitSlop={8}>
      {({pressed}) => (
        <IconContainer pressed={pressed}>
          <Icon size={30} name={'chevron-back'} color={'rgba(0,0,0,0.9)'} />
        </IconContainer>
      )}
    </Pressable>
  );
};

export default HeaderLeftGoBack;
아래 코드처럼 useLayoutEffect에서 headerLeft에 위에서 만든 컴포넌트를 넣어주면 끝~
앞으로 이 코드 저장해두고 필요할때마다 써야지
import React, {useLayoutEffect} from 'react';
import {useNavigation} from '@react-navigation/native';

const Screen = () => {

  const navigation = useNavigation();

  useLayoutEffect(() => {
      navigation.setOptions({
        headerTitle: '설정',
        headerLeft: () => HeaderLeftGoBack(navigation),
      });
    }, [navigation]);

 }
반응형
'프론트엔드 앱 > React-native' 카테고리의 다른 글
| MS AppCenter 세상 간단한 배포 Code Push (0) | 2022.01.03 |
|---|---|
| iOS 시뮬레이터 디바이스 변경하기 (0) | 2022.01.03 |
| [에러해결] Failed to delete storage directory (0) | 2021.12.21 |
| iOS 시뮬레이터 위경도 설정하기 (0) | 2021.12.21 |
| [자동완성검색] UI-Kitten Autocomplete 사용하기 / 응용편 (0) | 2021.12.18 |